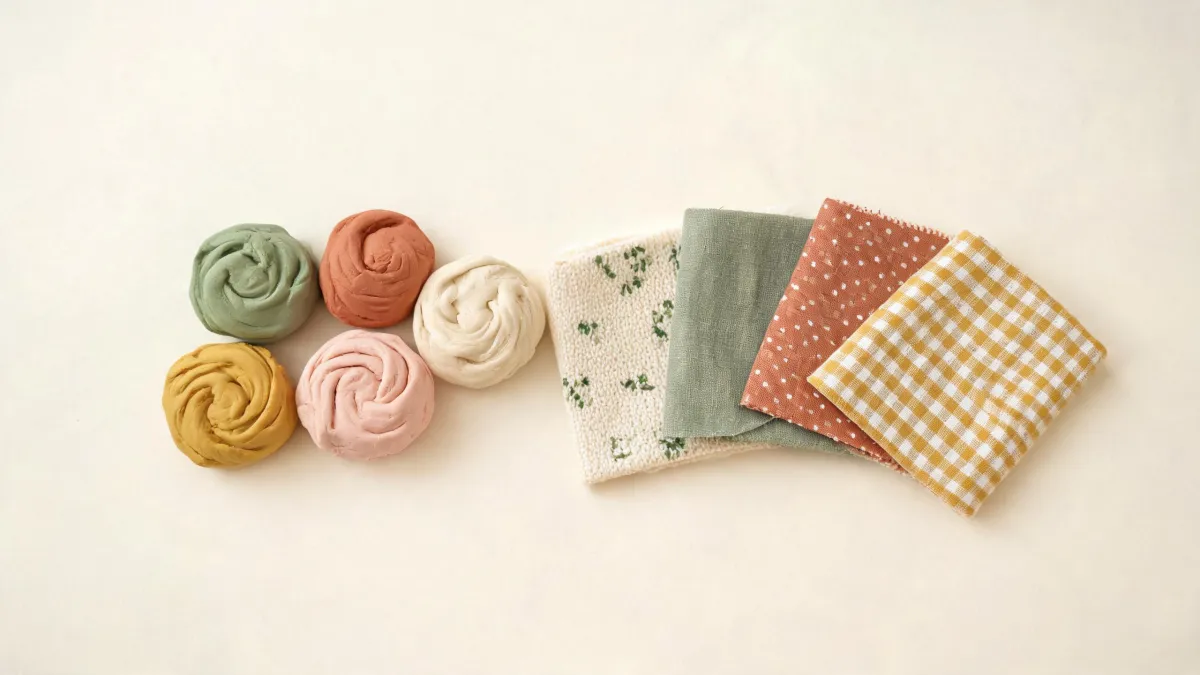
Years ago, air-dry clay was a guessing game: you'd leave a sculpture on the counter, wait overnight, and then press a thumb into the base to see if any softness remained. Today, Play-Doh Air Dry Clay comes with more explicit guidance—most packages point to about 24 hours—yet the same uncertainty still creeps in. The reason isn't the clay itself; it's that drying time depends on variables like thickness, humidity, and airflow. So the modern answer is both simpler and more conditional: start with 24 hours, then adjust for what you're making.
How Long Does Play-Doh Air Dry Clay Really Take to Dry?
The short answer is that Play-Doh Air Dry Clay typically dries in about 24 hours. That figure is the baseline you'll see on most packaging, and it works for the average small piece—say, a figurine that's no thicker than your pinky finger. But the 'about' is doing real work. A thin, flat piece such as a coaster or a pressed shape can be ready in as little as 12 hours, while a chunky sculpture with a 2-centimeter body could still be damp inside at the 24-hour mark. In practice, you should plan for a range of 12 to 48 hours, with 24 as the default, and verify dryness before you paint or move anything. If you're working with children, this range also prevents the disappointment of a project that looks done but crumbles under a first brushstroke.
The range exists because drying time is a function of two things you control: surface area and water load. Air-dry clay hardens as water evaporates from its surface, so a piece with more exposed area per gram—a flat heart, a thin letter—dries faster than a dense ball of the same weight. Thickness matters most: the center of a thick section dries last, and the outer crust can feel firm while the interior remains soft. That's why the 24-hour figure is only a starting point. You also need to consider your room's humidity and airflow. A humid bathroom or a sealed container can slow evaporation, while a dry, breezy room can pull water out quicker. So the practical rule is: expect 24 hours, check the thickest part, and adjust your expectations up or down based on the piece's shape and your environment.
What Makes It Dry Faster or Slower?
Thickness is the dominant variable. Think of the clay as a sponge waiting for water to escape from its surface. A sheet that's 3 mm thick has a huge surface relative to its volume, so it can dry in under half a day. Roll the same sheet into a sphere with a 3 cm diameter, and you've dramatically reduced the surface-to-volume ratio; the outside will firm up while the inside stays damp for much longer. Beyond geometry, humidity in your workspace matters because evaporation slows down when the air already holds a lot of moisture. A dry day with a fan or an open window accelerates the process, while a steamy kitchen after cooking can stall it. These factors are why two identical pieces can dry at noticeably different speeds in different rooms.
So you can predict drying time more accurately by asking two questions. First, how thick is the thickest part of your project? If it's under 5 mm, 12 to 18 hours is a reasonable estimate. Between 5 mm and 2 cm, budget 24 hours. Above 2 cm, plan for 36 to 48 hours. Second, what's the environment like? Low humidity and moving air can shave 25 to 30 percent off those estimates, while humid, still air can stretch them by the same margin. For example, a 1 cm thick heart in a 60 percent humidity room might take the full 24 hours, while the same shape in a desert-dry room could be ready in 16. Keep in mind that these figures are practical guidelines for a typical room, not a promise. The surface may feel dry before the center is stable, which is why you should always test before handling.
The Official Word: How Standards Guide the Answer
When you look for a definitive number, the most reliable source is the official guidance from the brand itself. On Hasbro's Play-Doh consumer-care pages, the company notes that 'product range, availability and pricing may vary from retailer to retailer'—a reminder that what you see online or in one store isn't necessarily universal. Applied to drying time, this means the exact package instructions you receive can vary depending on where you buy the product, the specific batch, or regional packaging. The brand's own communication doesn't give a single global number; it directs you to check the package in your hand. That's the final word, because it's the only version tailored to the product you actually own.
A parallel from another children's product category makes the point. In June 2025, Consumer Reports explained that new federal child car seat regulations now include side-impact testing—a change that came after data showed more than 100,000 children were injured in traffic collisions in 2022. None of that is about clay, but it illustrates the broader principle: guidance for children's products doesn't stay static. Standards get updated, and manufacturers adjust their instructions accordingly. So an old blog post about Play-Doh Air Dry Clay drying times may not reflect the current package advice.
What this means for your project is straightforward: before you commit to any number, read the package. The drying instructions printed on the label supersede any article, including this one. If the packaging says 'allow 24 hours to dry,' treat that as the baseline. If it says 'dries in 24 hours or more,' plan for extra time. Also check the date—packaging is updated, and an old package from the back of a shelf might differ from the current production. When in doubt, the official consumer care page is your reference. And remember, those instructions are updated for current formulas, so don't rely on a friend's memory of what the packaging said last year.
How to Tell If Your Clay Is Fully Dry
Your hands are the most reliable moisture detectors you have. Gently press the thickest part of the piece with a clean, dry fingertip. If it feels cool, that's a sign water is still evaporating; if it feels room-temperature and resists pressure, you're close. Next, lift it. A completely dry piece feels noticeably lighter than a damp one, because a significant portion of the original water has left. You can also hold it against the back of your hand: a dry piece won't leave any moisture feeling, while a damp one will cling slightly. Visually, look for a uniform matte finish. If you see darker patches or a slightly glossy sheen, those areas are likely still wet. If you're unsure, wait an hour and test again.
Here's the mistake that turns a nearly finished project into a dented one: testing too hard. A light fingertip press is enough; pressing with your thumbnail or squeezing the sides can leave permanent marks, especially on a piece that's dry on the outside and soft within. Wait until the piece has been out at least 12 hours before you test at all, and then test the underside or a hidden area first. If the surface indents at all, put it back and check again in a few hours. Never try to 'help' it along by putting it in the oven or the microwave—that can warp the clay or create bubbles. The safest way to know is to exercise patience and check at intervals.
Speeding It Up: What Works and What Hurts
If a project deadline is looming, you can speed up drying without damaging the clay. Increase airflow first: place the piece on a wire rack so air reaches all sides, and point a small fan across it at a low setting. Lowering room humidity helps too—running a dehumidifier or placing the piece in a dry, warm room can pull moisture out faster. Keep it out of direct sunlight, which can cause uneven drying and cracking. You can also shape the project to dry faster in the first place: thin parts dry quickly, so keep thick sections hollow or cut away excess clay at the base. These methods can reduce the 24-hour baseline by a few hours when done consistently. A wire rack is ideal, and even a few minutes of airflow helps.
Now for the methods to avoid. The most common mistake is applying heat. Putting Play-Doh Air Dry Clay in a microwave, oven, or under a hair dryer on high can cause the surface to dry much faster than the interior, locking moisture inside. The result is often a cracked shell with a soft core, or a piece that blisters and becomes brittle. Similarly, don't experiment with chemical driers or sprays meant for other materials—they can react with the clay and change its color or texture. Another trap is forcing the piece to dry in a tightly sealed container with silica gel; while it absorbs moisture, it can dry the surface too quickly and make the clay pull away from itself. Stick to airflow and patience.
A Timeline of Air-Dry Clay Guidance
Air-dry clay isn't a new product, but the guidance around it has never been a fixed set of numbers. Early on, hobbyists relied on shared tips from craft forums, often learning through trial and error. A common rule of thumb was 'leave it for a day,' with no distinction between a flat tile and a thick figurine. Package instructions were sparse, and there was little official direction about how temperature or humidity affected drying. Crafters eventually learned through forums that thick pieces needed an extra day, but those tips were inconsistent, and a project could still fail if the room was humid. That worked for simple projects, but it left a lot of room for ruined sculptures.
Today, Play-Doh Air Dry Clay packaging includes a specific drying time, usually around 24 hours, and brands like Hasbro maintain consumer-care pages that acknowledge variability. The current standard is more explicit than the old folklore, but it's still conditional. Hasbro's own communications emphasize that product details vary by retailer, which is why the package you're holding is the definitive source. At the same time, the broader toy industry has been moving toward clearer safety and age-grading labels, so the expectations placed on packaging have increased. That's why the most reliable number for your specific box is the one printed on it, not a figure from a website that may be years old. And because label text can change with each production run, always check before you start.
Looking ahead, guidance for children's craft products is likely to keep evolving, just as it has in other categories. Consider child safety restraints: SafetyBeltSafe U.S.A.'s recall list from January 25, 2026, for example, reminds caregivers that even established product standards (FMVSS 213) get revised, and that you must check not only the expiration date stamped on the plastic but also the detailed instruction booklet and any recalls. The parallel for air-dry clay is that you should treat the label as a living document. A package bought today may carry different advice than one bought three years ago. Checking the official brand page and reading the current package instructions before starting a project will keep you aligned with the latest guidance.
The Bottom Line: Verdict and Boundaries
Here's the verdict: Play-Doh Air Dry Clay dries in about 24 hours at room temperature, but you should treat that number as a default for pieces no thicker than about 2 cm in a typically dry room. Thin items can be ready in 12 hours; thick sculptures may need 48 hours or more. That's the same kind of condition-based answer you see in other children's product guides. Consumer Reports' car seat buying guide doesn't just give one number for 'how long will my child need a car seat'—it explains that the answer depends on weight, height, and seat types. The same logic applies to clay: the honest answer is conditional, and the conditions are thickness, humidity, and airflow. Verify with a gentle test before you paint or move the piece.
The boundary conditions are simple. If your room is humid, if the piece has any part thicker than your thumb, or if you're working indoors with no airflow, extend your estimate by at least half a day. If you're working with very thin shapes and a dry breeze, you can safely plan for 12 hours. But the package instructions are the final authority—if the label says 24 hours, that's your baseline, even if an online comment claims 6. And never speed up drying with heat, because the outside will set while the inside stays soft, turning a complete project into a cracked mess. When in doubt, wait one more night. Checking the thickest spot with your fingertip is the same test you'd use for a cake.
The old guessing game is over. Check the thickest part, trust the package, and let the clay tell you when it's ready.